How to install gutter guards
(FOX 2) - This week, our Jill of All Trades, Jill Washburn shows us how easy it is to install gutter guards on a gutter.
Because Jill's yard is full of trees, her gutters were constantly filling with leaves, pine needles, seeds, and other debris. The build-up was causing major clogs, which then caused the gutters to overflow. The resulting waterfall off the house was causing damage to flowerbeds and the brick patio. Plus, Jill says, she was far too often up on a ladder in a rainstorm, trying to clear the clogs. It was definitely time to take action.
Installing gutter guards with Jill of All Trades
In this episode of Jill of All Trades, she shows us how to install gutter guards.
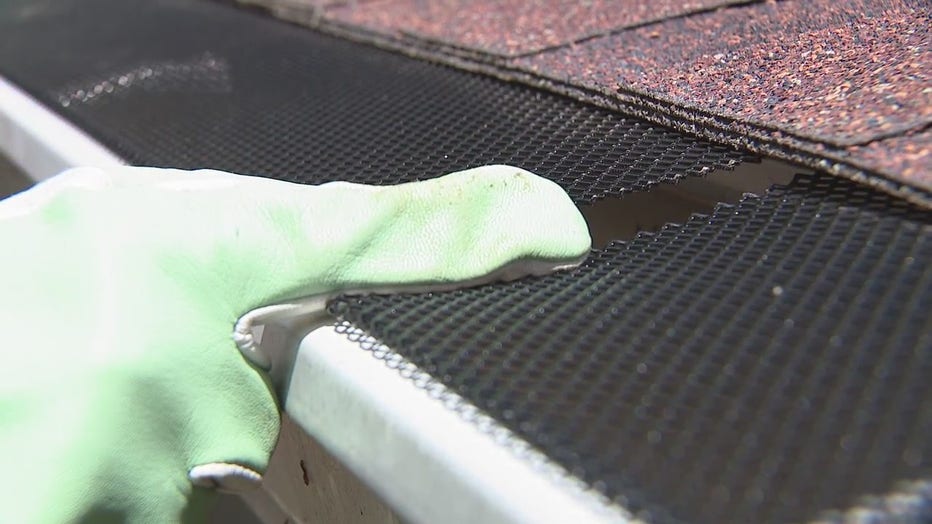
Jill found her gutter guards at Home Depot. They are metal screens with a painted coating that will protect them from the weather. All of the big box stores should have some sort of gutter guard.
In fact, there are multiple options available. Jill chose the ones that she did, because she has a large section of roof that sheds into the gutter on the back of her house and she felt that the metal screen option would let the most water drain through the quickest.
The gutter guards she chose will also fit multiple size gutters, 4-inch, 5-inch, or 6-inch wide, so even if you're not sure what size gutters you have, you'll still be covered. The guards come in 3-foot long sections and easily interlock.
To install them, you have to gently slide the back edge (the flatter of the two edges) up under your shingles just a tiny bit. You push it in far enough so that the front edge can clear the inside of the front edge of your gutter. Then you pull the guard back out just enough so that the front rounded edge sits firmly over the front edge of the gutter. That's it!
You just continue down the span doing the same process with each piece. As you go along, says Jill, you'll want to overlap the ends slightly, and they are made to work that way. You'll notice a little notch on the left side of each piece that allows the pieces to overlap, so that there are no gaps in your coverage.
Jill offers a couple of tips to help you out. First, says Jill, it's best to do this on a warm day, so that your shingles are a little more pliable. It'll make the job easier and you'll be much less likely to damage your shingles. That said, Jill says to try to avoid doing this project during the hottest part of the day. There are often bees or hornets up under your gutters and they are more likely to be active when it's really warm. Jill says a mild morning or evening is the best timing, in that regard.
Also, Jill recommends a good pair of gloves for this project, and that's for a couple of reasons. First of all, you're going to want to be cleaning whatever existing junk (or gunk!) is already sitting in your gutter, as you work your way along it. As you cover up your gutters, you don't want to be sealing the problem inside.
Jill says to choose a pair of gloves with a tough coating, or a good pair of leather work gloves. The other reason for wearing gloves is because the edges of the guards can be a little rough on your hands, especially if you have to muscle them into place a little bit. This is especially true when you get down to the final piece where you may have to make some cuts. That cut edge can be a little sharp.
Speaking of the final piece, Jill found that cutting that last piece of gutter guard was much easier than she anticipated. She just marked the endpoint with a piece of chalk, and she used a pair of tin snips to cut through the metal mesh. A few snips made the last piece a custom fit.

Jill offers a word of caution on this project. Make sure you are confident on a ladder when you are tackling a job like this. And, it helps to have someone along with you on the ground to help steady the ladder, because sometimes the ground next to your house can be irregular in terrain, or soft in spots. An extra pair of hands, and eyes, is always helpful. And, a helper can make the job go much faster.
PROJECT RATING: Medium (It's actually pretty simple, but there will be many trips up and down the ladder.)
To watch Jill take you through the process, just click on the video player above.

