(FOX 2) - This week, Jill Washburn, our Jill of All Trades, shows us how she painted and hung the flower boxes that she made in last week’s segment. First, to the painting.
You may recall that Jill constructed the boxes out of cedar, with a pine trim molding along the top. Cedar can present some challenges when it comes to painting, especially if it is on the redder side. You may want to seal it, or prime it, before painting, says Jill.
This browser does not support the Video element.
Jill of All Trades finishes her flower boxes
In this episode of Jill of All Trades, Jill shows us how to paint and hang the flower boxes she constructed last week.
Jill decided that she was going to skip that step, based on the fact that she was using a premium exterior house paint that was a primer and paint in one. The paint, Behr Ultra Exterior Satin Enamel, is also a stain-blocking formula. Jill decided that she would take a chance and just do two coats of paint. It worked out well for her.
Jill started by painting the top 2” or so of the inside of the flower boxes. This is so that there is no bare wood showing once the boxes are filled with dirt and plants. After that, she painted the outside of the fronts, sides, and bottoms of each box. There is no need to paint the backs, says Jill, since those will face the house and no one will see them.
Once the boxes have 2 coats of paint on them and are thoroughly dry, it’s time to do the hanging. To do this, Jill used heavy duty 6” L-brackets (2 per box). Jill chose to do it this way to avoid a problem she’d had with the previous flower boxes that were on the house.
Those boxes were hung with screws driven through the backs of the boxes into the trim boards on the house. Jill says the problem with that method was that the boxes, plus the dirt, plus the plants, plus water was a tremendous amount of weight for the screws to hold. Over time, the weight was pulling the boxes apart, and even pulling the trim boards off the house.
By using the L-brackets, the boxes have a place to rest, so that the screws aren’t holding so much weight. The L-brackets are mounted on the house with lag bolts, so they’re super strong and the brackets are hidden from sight. This system would also allow the boxes to be easily removed, if they ever need to be repaired or repainted, or if the trim work needs to be repaired or repainted. Plus, with less strain on the boxes from the weight, they should last longer than the last set did.
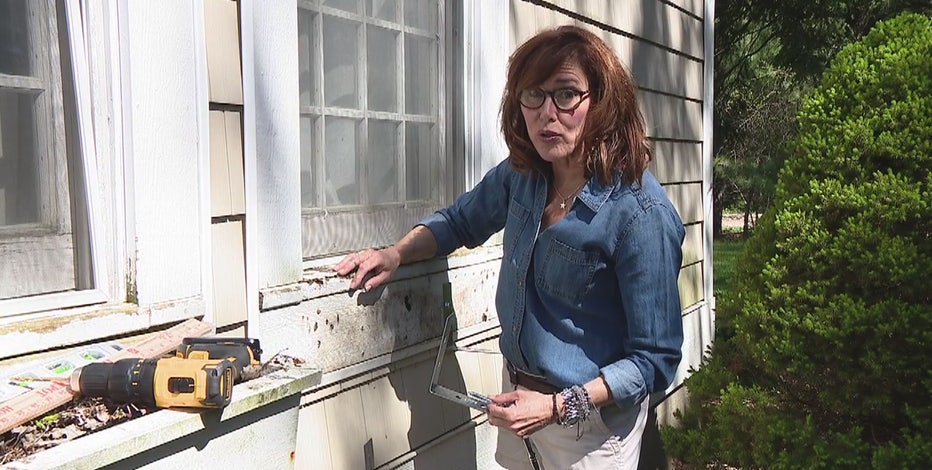
To hang the boxes, Jill decided where she wanted the box to be placed, and marked the point where the bottom of the box would be on the house. She then placed the brackets on the house so that the top of the extending part of the bracket was at the point where the bottom of the flower box should be. Once Jill marked where the brackets should sit, she pre-drilled holes for the lag bolts. With the holes drilled, Jill then placed the brackets where they should go and put the lag bolts in. She started them by hand, and then used a socket wrench to drive them in and tighten them down. She used two L-brackets per flower box.
Measurements, alone, should keep the brackets level, but you may want to check for level, to be sure. Jill did this by laying a yardstick across the brackets and putting a small level on it to gauge for true level. With the brackets installed and levelled, it was time to place the boxes. Realistically, the brackets alone could hold the boxes, but for safety’s sake, Jill drove two long deck screws through the back of each box into the trim boards. The sole purpose of these is to hold the box in place, not to support it.
That’s it! The boxes are done, and hung, and looking great! The only thing left to do is to fill them and plant them!
PROJECT RATING: Medium
To watch Jill take you through the process, just click on the video player above.