

How to put a natural cut edge on a limestone block
(FOX 2) - This week, our Jill of All Trades, Jill Washburn, shows us how to chisel cut the edge of some decorative limestone to give it a natural stone edge.
This job requires a chisel, a hammer (preferably one with a shorter handle), and safety glasses. It does not, however, require a ton of experience. Jill says it's helpful to have a piece of stone to practice on, so that you can get your process down before you move onto your final piece.

Jazzing up a piece of limestone with Jill of All Trades
In this episode of Jill of All Trades, she shows us how to give your perfectly-cut limestone block a more natural-looking edge.
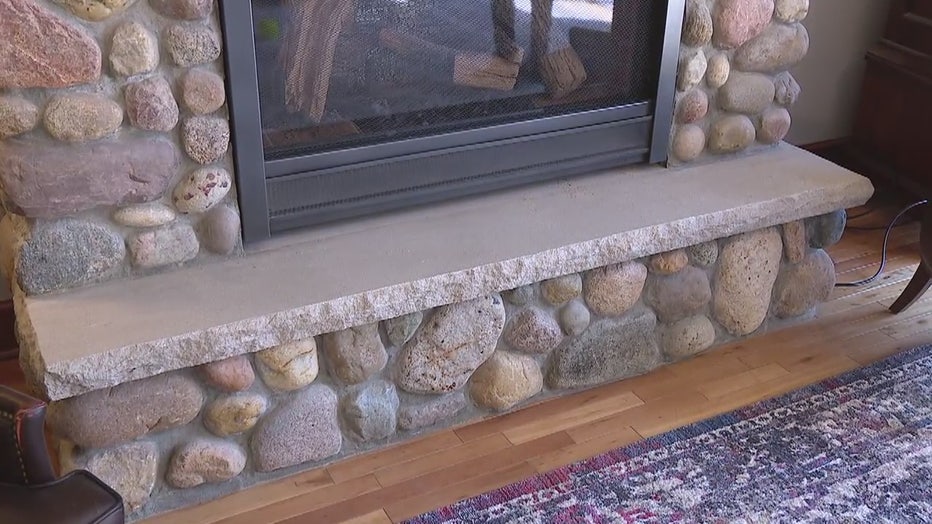
Jill started by putting her piece of limestone up on a sturdy table that could easily support the weight of the stone. She left a tiny bit of the edge that she was working on hanging over the edge of the table. She used a straight edge to draw a line 3/8" to 1/2" in from the edge. This line is a general guideline, says Jill, and doesn't have to be perfect or exact.
Time to chisel! Jill started at one end, working her way down the entire length of the piece.
Place your chisel on the line you just drew and angle the chisel blade so that it would line up on an imaginary line running from your pencil line to a spot on the edge halfway down the thickness of the stone. That's the amount of stone you're trying to remove.
Because you're starting at a corner, Jill recommends a little bit of a softer hammer strike so that you don't crumble the corner. Once you have the first piece removed, you can be a little more aggressive with it as you work your way down the line.
Strike the end of the chisel with the hammer. It may take a couple of strikes before the stone chips away. Ideally, you'll get a feel for how many hammer strikes it takes to chip away the stone you need to remove. You'll also get a feel for how hard you need to hit the chisel. You should get some kind of rhythm (and consistency) going as you work you way down the edge of the stone.
Once you get to the end, be careful once again at the corner, so that you don't crumble it. Your work won't necessarily be perfect, says Jill, but you can come back and do touch-ups later.
Once you've worked your way down the top of the edge, it's time to flip the stone and work on the other side of edge. You'll tackle that edge in exactly the same way, working from one side of the edge toward the other.
When you've finished that, if you're happy with it, you're good to go. If not, you can go back and do touch-ups. You can use work the chisel in a sideways fashion to remove more stone, if necessary. You may want to try a rasp to remove some of the smooth spots, or even some rough grit sandpaper to rough them up a little. Limestone is relatively soft, so it's pretty easy to work with.
Jill says, mostly likely, you'll find this process easier than you think and, actually, pretty fun!
The piece that Jill worked on was salvaged from a building that was being renovated. It's not uncommon to find pieces in that manner. Jill recommends keeping an eye out for such things as you make your way around commercial areas that are under construction.
PROJECT RATING: Medium+ (A little tricky, but not difficult. And, definitely fun!)
To watch Jill take you through the process, just click on the video player above.