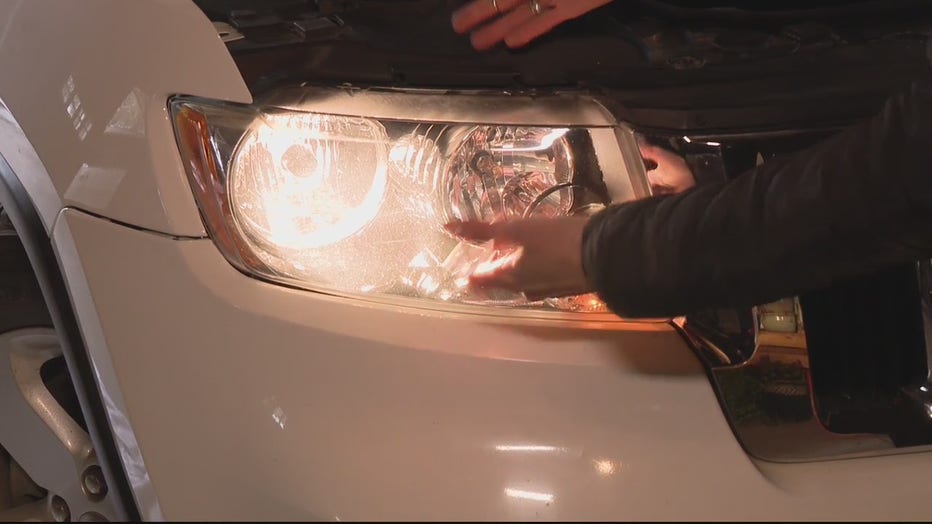
How to switch out a headlamp bulb in your vehicle
(FOX 2) - This week, our Jill of All Trades, Jill Washburn, shows us how to swap out a headlamp bulb in her vehicle. Jill demonstrated it on her 2011 Grand Cherokee but the process is likely similar for many vehicles.
While it is possible to lift the hood and see where the headlamp bulb is located on Jill's vehicle, it is difficult to reach it with your hand. Jill can fit her hands through the cables and wiring harnesses, but a larger hand would likely not be able to fit. No sweat, says Jill. There is a more direct way to access the bulb.
There is an access port in the wheel well of each of the front wheels. Jill recommends turning your front wheels so that the tire that you’re working in front of is turned toward the center of the vehicle. You’ll see a round cover to the access hole in front of that tire. That cover should twist off fairly easily. If your wheel wells are dirty (like Jill’s were), you might have to scrape away some of the dirt or mud to get the cover to loosen.
Once that cover is off, you should be able to look up into the engine compartment and figure out where the light bulb is located in relation to the headlamp.
**PRO TIP #1** You’ll want to disconnect the wire/socket before you try to pull out the bulb.
Jill learned that the hard way. There is not a lot of extra length to the wire, so it is all almost impossible to twist out the bulb without removing the wire first. Disconnecting the wire means prying open a little spring clip on each side of the bulb socket. You may need a screwdriver to do this, says Jill. Once you have them carefully pried open, you should be able to easily wiggle the socket off of the bulb.
With the socket disconnected, the bulb should be able to easily twist out. It should take about a 1/4 turn (clockwise, in this instance) to get it out. To get the new bulb in, we just reverse the process.
**PRO TIP #2** Try not to touch the new bulb with your bare fingers. If you get oils from your hands on the bulb, it could affect the life of the bulb.
The tabs that hold the base of the bulb assembly that hold it in place are not all identical in size, so you will have to make sure that you have them lined up correctly to get the bulb to lock into place the right way. Most likely, you will be doing this by feel, since you won’t be able to see into the access hole while your arm is in there. Jill says that it’s not as difficult as it sounds. She was able to find the proper placement, by feel, within several seconds. You’ll be able to feel it when it all lines up and sinks into place, says Jill. From that point, just twist the bulb about 1/4 turn (counter-clockwise, in Jill’s case) to lock it into place.

With the new bulb in place, you'll just need to reconnect the wiring plug to the socket on the bulb. It should slide on easily, says Jill, and you’ll feel, and probably hear, the spring tabs click and lock into place on the bulb.
That’s it! You’re done! You should be good to go. Test it to make sure. All that’s left, then, is to replace the access cover in the wheel well. Make sure that you’ve cleared any tools or flashlights that you may have used from the engine compartment before you seal everything up.
**PRO TIP #3** Jill says that she has done this on a warm day and a very cold day and that it is definitely easier on a warm day. Everything is just a little more pliable when it’s warm, making the whole process a little smoother.
PROJECT RATING: Medium - Medium+
To watch Jill take you through the process, just click on the video player above.

