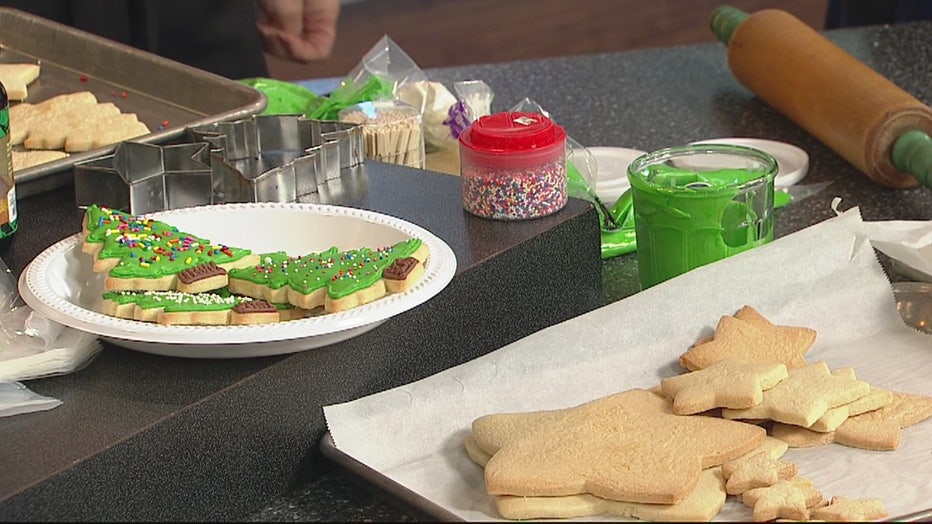
Jill Washburn shares her sugar cookie recipe
(FOX 2) - This week, Jill Washburn, our Jill of All Trades, shows us how to do the fancy sugar cookies with Royal Icing, and shares her own recipe for sugar cookies that she's never shared with anyone.
Let's start with the recipe for the sugar cookie dough.

Big Batch Sugar Cookies
Ingredients
2 cups butter
2 cups sugar
3 1/2 eggs
2 teaspoons vanilla extract
2 teaspoons almond extract
7 1/2 cups flour
2 teaspoons baking powder
1 teaspoon salt
Directions
1. Preheat oven to 350° F.
2. Cream butter and sugar. Add eggs and vanilla. Mix dry ingredients and add to butter mixture. Mix well. Chill for 1 to 2 hours. Roll to 1/4" thickness and cut into desired shapes. Bake 8 to 10 minutes. (I bake on parchment paper.)
3. Makes a lot of cookies! About 8 dozen 3 inch cookies.
4. Cool 2 minutes on baking sheet. Remove cookies to a wire rack to cool completely.
Jill's secret for rolling out the cookies? Using powdered sugar, instead of flour. Jill says it makes for a better-tasting, less pasty cookie, and it gives the top a nicer crust. Plus, says Jill, the dough doesn't get so dried out when you're re-rolling the scraps.
Once you've baked the cookies and let them cool, you're ready to frost.
Jill's Cookie Frosting
Ingredients
1 stick butter
½ cup shortening
1 tsp. vanilla extract
1 tsp. almond extract
7 cups powdered sugar
4 Tsp. meringue powder
½ tsp. salt
water
Directions
1. Cream together the butter and shortening. Then add the flavorings.
2. Mix together the dry ingredients and then add to the butter mixture, 1 cup at a time, alternating with a T. of water. More water may be necessary to achieve the consistency you want. Continue until all of the sugar has been added and the frosting has the desired consistency. Softer tends to be better, if you're going to pipe it on from a pastry bag.
3. Tint frosting, if needed. Mix thoroughly.
Use a pastry bag to line the edges of the cookies. Jill says to pause for a split second when you need to turn corners with the piping or change directions. That will keep the line from breaking. Let the piping dry for an hour or more before filling with royal icing.
Royal Icing
Ingredients
4 cups powdered sugar
½ tsp. salt
2-4 Tsp. meringue powder
1 tsp. vanilla extract
1 tsp. almond extract
water
Directions
Mix all the dry ingredients together. Add flavorings, and then add water a Tsp. at a time until the desired consistency is reached.
Making the icing wetter makes it flow easier, but it will also take longer to dry that way. Jill says it's all personal preference as to how you like to work with it, and how you need it to flow on your pieces. You don't have to completely fill the space with the icing. Jill recommends filling it most of the way and then letting the icing flow and settle to fill the space. She also says that you can coax it around a bit with a toothpick to lead it into the corners and such. After that, add sprinkles, if desired, and let them dry for a day or so before packaging. If you are doing multiple colors on a cookie, you may want to leave time for drying in between colors so that they don't run together.
The Cookie Tree
Jill bought the cookie cutter set with the 10 graduated-sized stars at Meijer for about 8 bucks. It's made by Wilton and is available in many places. Jill used the cookie recipe above and made 2 stars of each size. You can make an extra star in the tiniest size and stand it on top as the star on the tree, if you wish.
Jill used the cookie frosting recipe, above, and tinted it green. She used a small circle of frosting in the center between each cookie layer, off-setting each one, and just kind of "glued" the tower together with the frosting, one layer at a time. If your tree starts to lean, you'll be able to make adjustments and nudge it back into place to get it standing straight. Once it's all together, you can add additional frosting to the tips of the stars to make the tree look green, or to have it look like snow. You can also add fancy sugars or sprinkle to decorate the tree of give the look of snow. You may have to babysit it for a little bit to keep it from leaning until the frosting starts to firm up a bit.
After that, you're done! You've got an amazing cookie tree that is sure to wow your friends and family!
PROJECT RATING: Moderate (More time-consuming than difficult)
To watch Jill take you through the processes, just click on the video player above.

