Salvaged Desk Turned Into Nightstands DIY Project Part 2
Transforming the Desk Into Nightstands Pt. 2
The transformation of the old desk into new nightstands continues in Part 2, as I start the reconstruction work and the nightstands begin to take shape.
Last time on Jill of All Trades, we watched Jill Washburn disassemble a desk that she planned to turn into a pair of nightstands. This week, Jill begins the rebuild.
The first thing Jill had to do was figure out what size she wanted the tops of the nightstands to be. Then, she had to figure out how much of that was going to be trim around the edges and how much was going to be the actual top.
Jill was trying to preserve as much of the original piece as possible. Unfortunately, there wasn’t enough of the original trim to make it all the way around both nightstand tops, so Jill opted to replace all of the trim. That proved to be a good decision, as the original trim was difficult to remove and much of it shattered during the removal process.
Measuring for the tops was critical because once Jill made her cuts, there was no going back. So, Jill took her time figuring out the dimensions and how she wanted it to look as a finished piece.
Once she had all of that figured out, she cut the new tops from the old desk top. They came out slightly smaller than the top of the nightstand, which is what Jill wanted. She knew that the trim pieces she had were enough to give her the slight overhang that she wanted on all sides.
With the most critical cuts made, next she turned her attention to fitting the trim pieces. Jill cut those at a 45˚ angle with her miter saw, so that they framed the rest of the top like a picture frame. Once she laid those out on the bench and had them fitting the way she wanted, it was time to start reassembling.

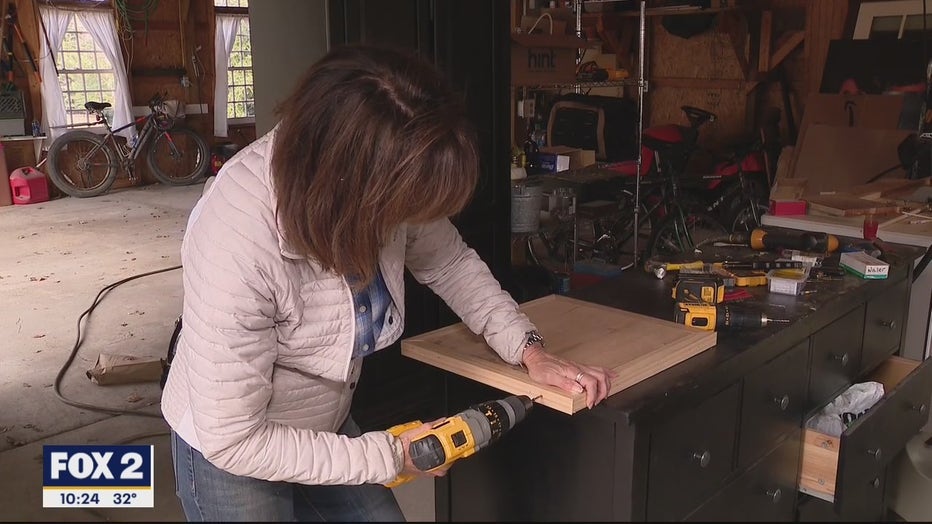
Jill constructs new tops for the nightstands out of the top from the old desk.
Originally, Jill had thoughts of just nailing the trim pieces on. That’s how the previous trim pieces had been attached. But, Jill found that too tedious. The trim kept wanting to shift as she was nailing it. She then decided that finish screws, with the holes pre-drilled, was a better way to go. Even that, though, was not a guarantee that everything was going go together without a hitch. So, Jill re-thought the process again.
Third try was a charm. The failsafe way, says Jill, was to attach the trim pieces first with a pin-nailer (brad-nailer), then go back around and drive in finish screws to hold the trim on rock-solid. She drove the screws in on the sides of the trim until the heads were just slightly below the surface. Jill will go back and fill those holes later, as part of the finishing process.

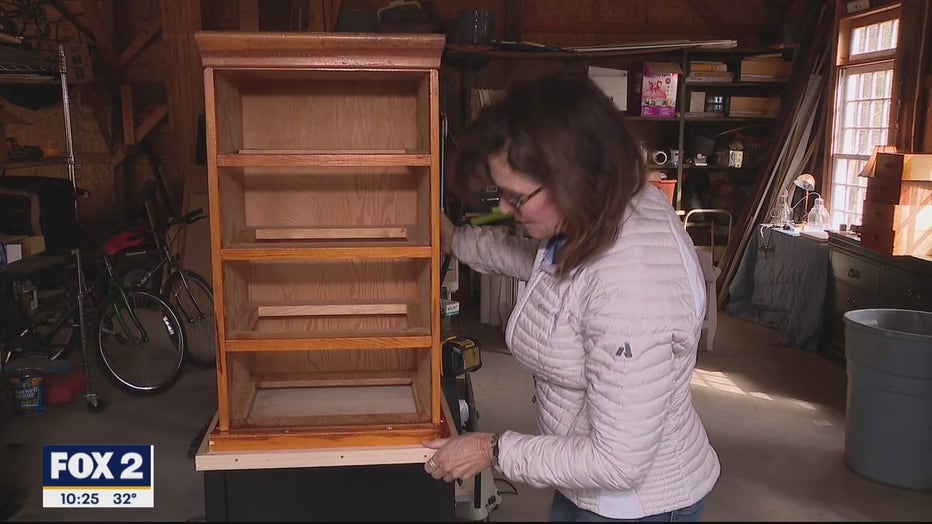
With the tops now assembled, the next step was to attach them to the nightstands themselves. Again, Jill was careful with her measurements in making sure that the tops were placed just where she wanted them, and that the placement would be identical from one nightstand to the other. Once Jill had that figured out, she once again used the pin-nailer to hold the tops in place until she could flip the nightstands over and get them up on the bench to permanently attach them with screws. She used new screws, but installed them in the existed screw holes that had held the original desk top in place.
With that done, the major construction work is complete. The nightstands are starting to look like… well… nightstands! The project is not done, though. There is still finishing work to do, and Jill will tackle that, and show the finished project, next time around on Jill of All Trades.
PROJECT RATING: Medium+
To watch Jill take you through the process, just click on the video player above.

