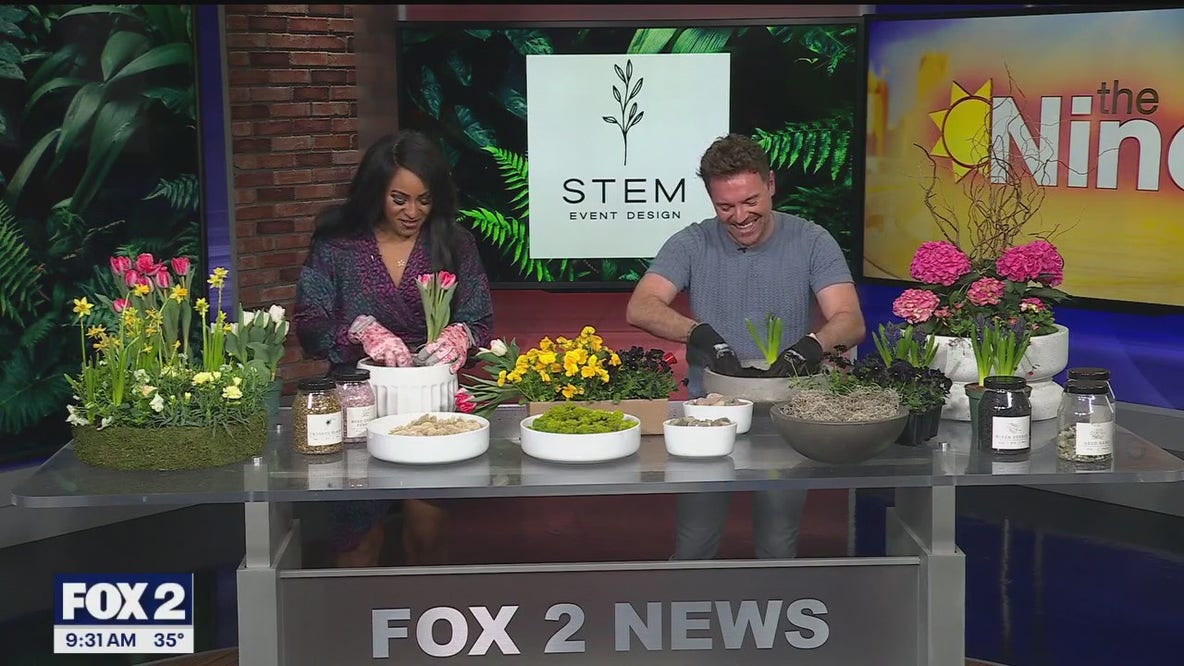
DIY spring planters with Stem Event Design
Kevin Miller of Stem Event Design helps us make a DIY planter for your home this spring. Stem Event Design is located on E. Auburn Rd. in Rochester Hills. For more visit, stemeventdesign.com. Materials You’ll Need: Bulbs: Choose firm, healthy bulbs free of mold. (Forcing bulbs such as tulips, daffodils, crocus, or hyacinths work best.), Pot: Select a shallow, decorative container (about 6–8 inches deep) with drainage holes, Potting Mix: Use a quality soilless potting mix or commercial potting soil (avoid heavy garden soil), Optional Additions: A layer of gravel or small stones for drainage at the bottom, bulb fertilizer or a slow-release fertilizer (if desired), Labels (to note bulb type and planting date.) To Make: 1. Select and Prepare Your Bulbs: Choose bulbs that are firm and free of damage or mold. If you’re forcing bulbs (for early indoor bloom), check whether your chosen variety needs a cold treatment. Bulbs that require chilling (usually 12–16 weeks at 35°F–45°F) should be pre-cooled in a refrigerator (away from fruit) or stored in a cool, dark place before planting. 2. Choose the Right Container. Pick a decorative pot that fits your interior décor (such as a stylish coffee table planter or a kitchen island centerpiece). Ensure the pot is at least 6–8 inches deep and has adequate drainage holes to prevent waterlogging. 3. Prepare the Potting Mix: If desired, add a thin layer of gravel at the bottom of your pot for extra drainage. Fill the pot about one-third full with quality potting mix. This helps support the bulbs while allowing room for them to grow. 4. Plant the Bulbs: Arrange the bulbs so that their pointed ends face upward. Plant each bulb at a depth of about two to three times its height. (For most spring bulbs, this means burying them about 3–5 inches deep.) Place the bulbs close together for a fuller look, but be careful not to overcrowd them so they have room to develop roots. 5. Fill in and Water: Gently add more potting mix around the bulbs, ensuring they remain upright. Tap the pot lightly to settle the soil without compacting it too much. Leave a small gap (about ¼ inch) at the top to ease watering. Water the soil thoroughly immediately after planting, then keep it consistently moist (but never soggy). 6. Cold Treatment (If Forcing Bulbs Indoors) If you’re using bulbs that require chilling, place the entire pot in a cool, dark spot (such as an unheated basement or a cool room) for the recommended period (typically 12–16 weeks). Once the chilling period is complete, move the pot to a bright, sunny location where temperatures are comfortably warm (around 50–65°F). 7. Display and Aftercare. Place your pot on your coffee table or kitchen island in a spot that gets bright, indirect light. As shoots emerge (usually within 3–4 weeks after being moved to a warmer area), continue to water lightly and keep an eye on soil moisture. Once the flowers bloom, enjoy your indoor garden display!
Top Videos
DIY spring planters with Stem Event Design

Detroit family searching for answers after deadly police shooting

Officer-involved shooting: Lincoln Park suspect goes to trial for wounding cop