Tips for the perfect caulk job
(FOX 2) - This week our Jill of All Trades, Jill Washburn shows us some simple tips for caulking gaps around the house. Jill says that it's one of the easiest homeowner tasks you can do.
Plus, it's super affordable. You can buy caulk and a caulk gun for less than 10 bucks.
Jill of All Trades shows us how to caulk gaps around the house
Jill of All Trades shows us some simple tips for caulking gaps around the house.
First of all, Jill says make sure that you match the caulk to the job. Most painter's caulk will do for basic indoor jobs.
Make sure the caulk you use outdoors is rated for outdoor use. Same thing for bathrooms. Make sure the caulk you use around the tub and shower is rated for that.
Let's start with opening the caulk. You can cut the tip off with scissors or with a razor knife. The tip is tapered.
You may want to cut it pretty close to the end, depending on the job you're doing so that you can draw a finer line with it. That will save caulk and be less messy, as you work.
Jill recommends cutting the tip at an angle. She says that helps you work more precisely, as you go.
Once you cut the tip, you'll need to puncture the inner seal so the caulk can flow out. Many caulk guns have a "pin" on the handle specifically for this purpose. If yours doesn't you can use a long nail or a barbecue skewer, or something along those lines.
Once you've punctured the seal, you're ready to go.
Squeeze the trigger a couple of times to get the caulk flowing. Jill says you may want to practice on a piece of newspaper or a scrap of wood to get the hang of it, as far as pacing how the caulk comes out of the tube.
Once you're ready to go, start caulking along your molding. You're likely going to put out more than you need. Just go along for a little bit and then you'll want to pause and clean up or smooth out that stretch.

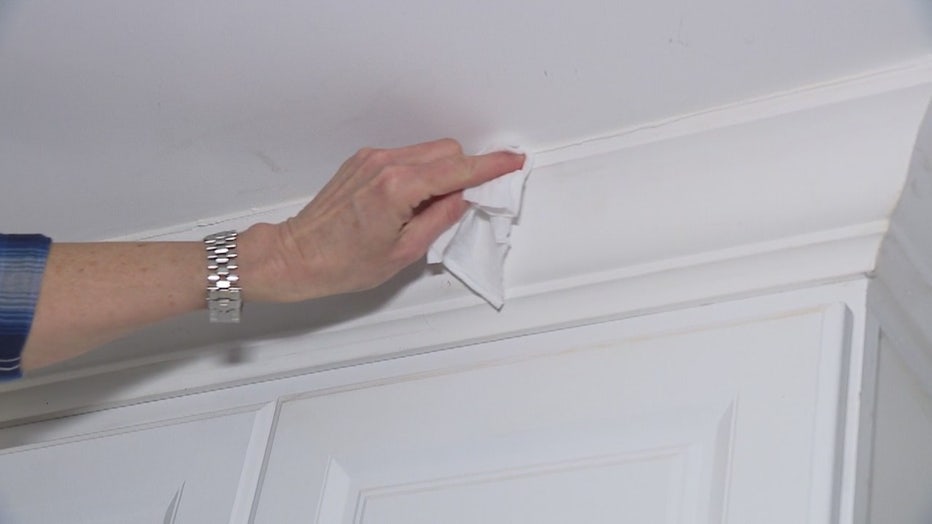
You can do that with the back of a plastic spoon, or a damp rag (Jill is partial to diaper wipes), or even your finger tip (although that can get messy).
Use the back of the tip of the spoon (or the finger or rag or wipe) to kind of push the caulk into the gap and smooth it out.
Occasionally, you might have to run a second layer of caulk over it. The process is the same. Just make sure you smooth out the second coat, as well.
There you have it! Done! Just let it dry and you're good to go. Many caulks dry pretty quickly, letting you get on to the painting part, if that's what you need to do next. It's pretty easy to get a smooth, even, professional-looking job and it really doesn't take much time or effort, says Jill.
PROJECT RATING: Easy
To watch Jill take you through the process, just click on the video player above.

